 |
 |
| Eligible new customers can get the Maestro equipment FREE for 12 months when signing up for Shentel services. Includes Master Box and players to control 2 TVs. To be eligible, you must sign up for Internet, Home Phone and TV service from Shentel. To have someone contact you about switching, fill in the form today! |
 |
 |
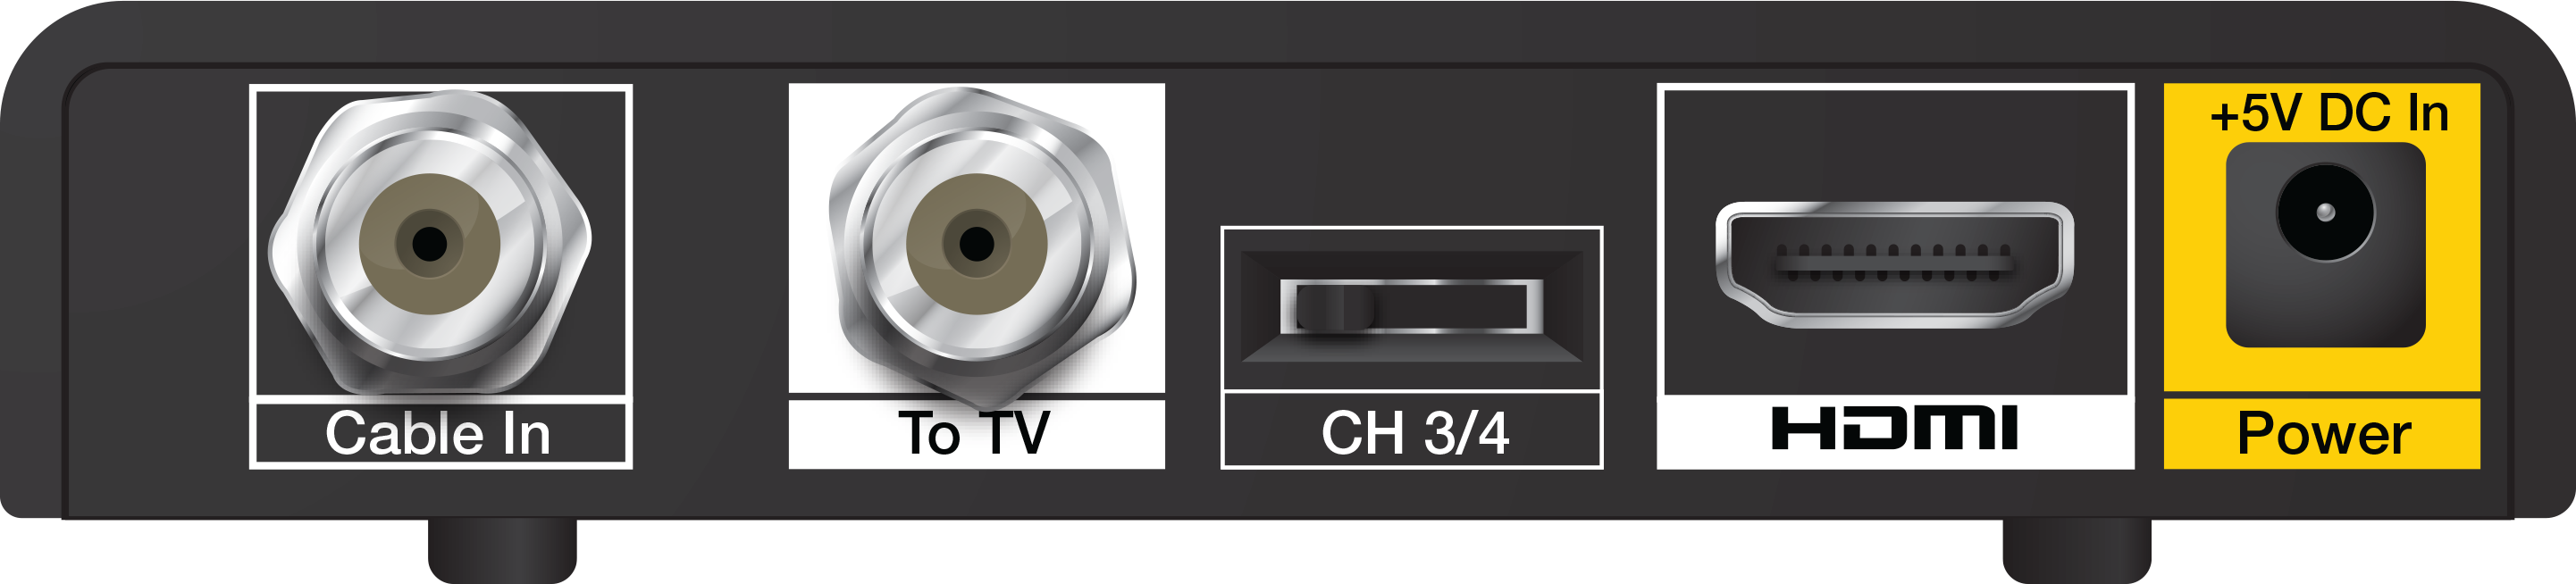
| In simplest terms, the adapter must be installed between the current incoming cable connection, and your TV, |
| Incoming cable connects to CABLE IN port on back of adapter. TV connects to adapter with a cable on TO TV port, OR using the HDMI connection, depending on TV. |
| INSTALLATION INSTRUCTIONS |
 |
 |
Still have questions? Call us at 1-800-SHENTEL |
|
Step 1: Connect the cable to the DTA
|
 |
 Your incoming coax cable should look something like this. Color may vary, but it will be a cable that screws onto the connection. Your incoming coax cable should look something like this. Color may vary, but it will be a cable that screws onto the connection. |
Step 2: Connect the adapter to your TV
|
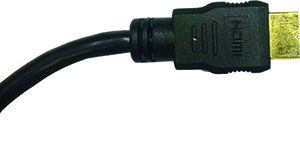 This is an HDMI cable. This is the connection type for most flat screen or HDTVs. |
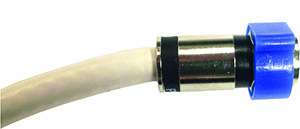 Your included coax cable may have a blue tip, to make it easier to screw on the cable. |
Step 3: Plug in the adapter
Step 4: Turn on the TV
|
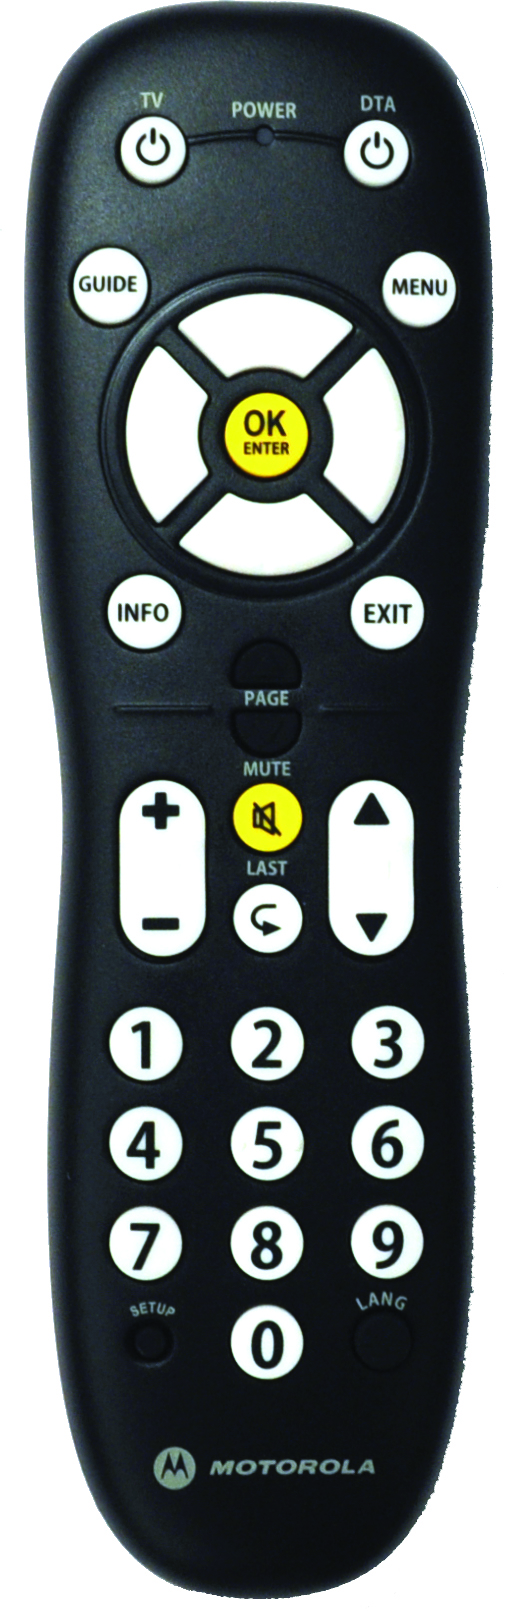 |
Step 5: Program the remote control
Step 6: To control TV volume with new remote
|
| TROUBLESHOOTING ERROR MESSAGE WHEN ENTERING CODE ON REMOTE If you get an error message after attempting to enter the 3-digit code to program the remote, simply wait for the message to disappear. Then begin step 5 again. INTERRUPTION OF SERVICES MESSAGE After the first time you set up your adapter, you may see a message stating that there has been an interruption of services. To fix, press the channel up and channel down button several times until programming reappears. THERE IS NO VIDEO After the first time connecting the adapter to the cable and plugging it in, be sure to allow up to 20 minutes for all necessary software to download. Make sure the TV is on and set to the appropriate input source for the adapter. Make sure the adapter and the TV are both set to the same channel (either 3 or 4). On an HDTV, make sure the input source is set to the correct HDMI port Make sure the cables between the adapter and the TV are firmly connected. On a HDTV, try disconnecting the HDMI cable and switching the ends. THE ADAPTER WILL NOT TURN ON Make sure the POWER light on the front of the DTA is lit green. If the adapter is connected to a switched outlet, make sure the switch is turned on. It is recommended to use an unswitched outlet, if possible. Unplug the adapter from the AC outlet, and then plug it back in. Make sure the remote control is in adapter mode Turn on by pressing the button marked DTA THERE IS NO AUDIO Press MUTE on the remote control to restore sound. VIDEO IS TOO SMALL FOR SCREEN This is usually only an issue with flat screen or HDTVs. Use the zoom feature of your TV to enlarge the image to fill the screen. IF YOU ARE STILL HAVING TROUBLE, PLEASE CALL 1-800-SHENTEL |